Kallus WIP
Working on Alexsandr Kallus was a difficult project. I briefly considered commissioning a jacket, but the more that I looked at it, and after using them as a service on another project, I knew that I could make it myself with Spoonflower as the printing service.
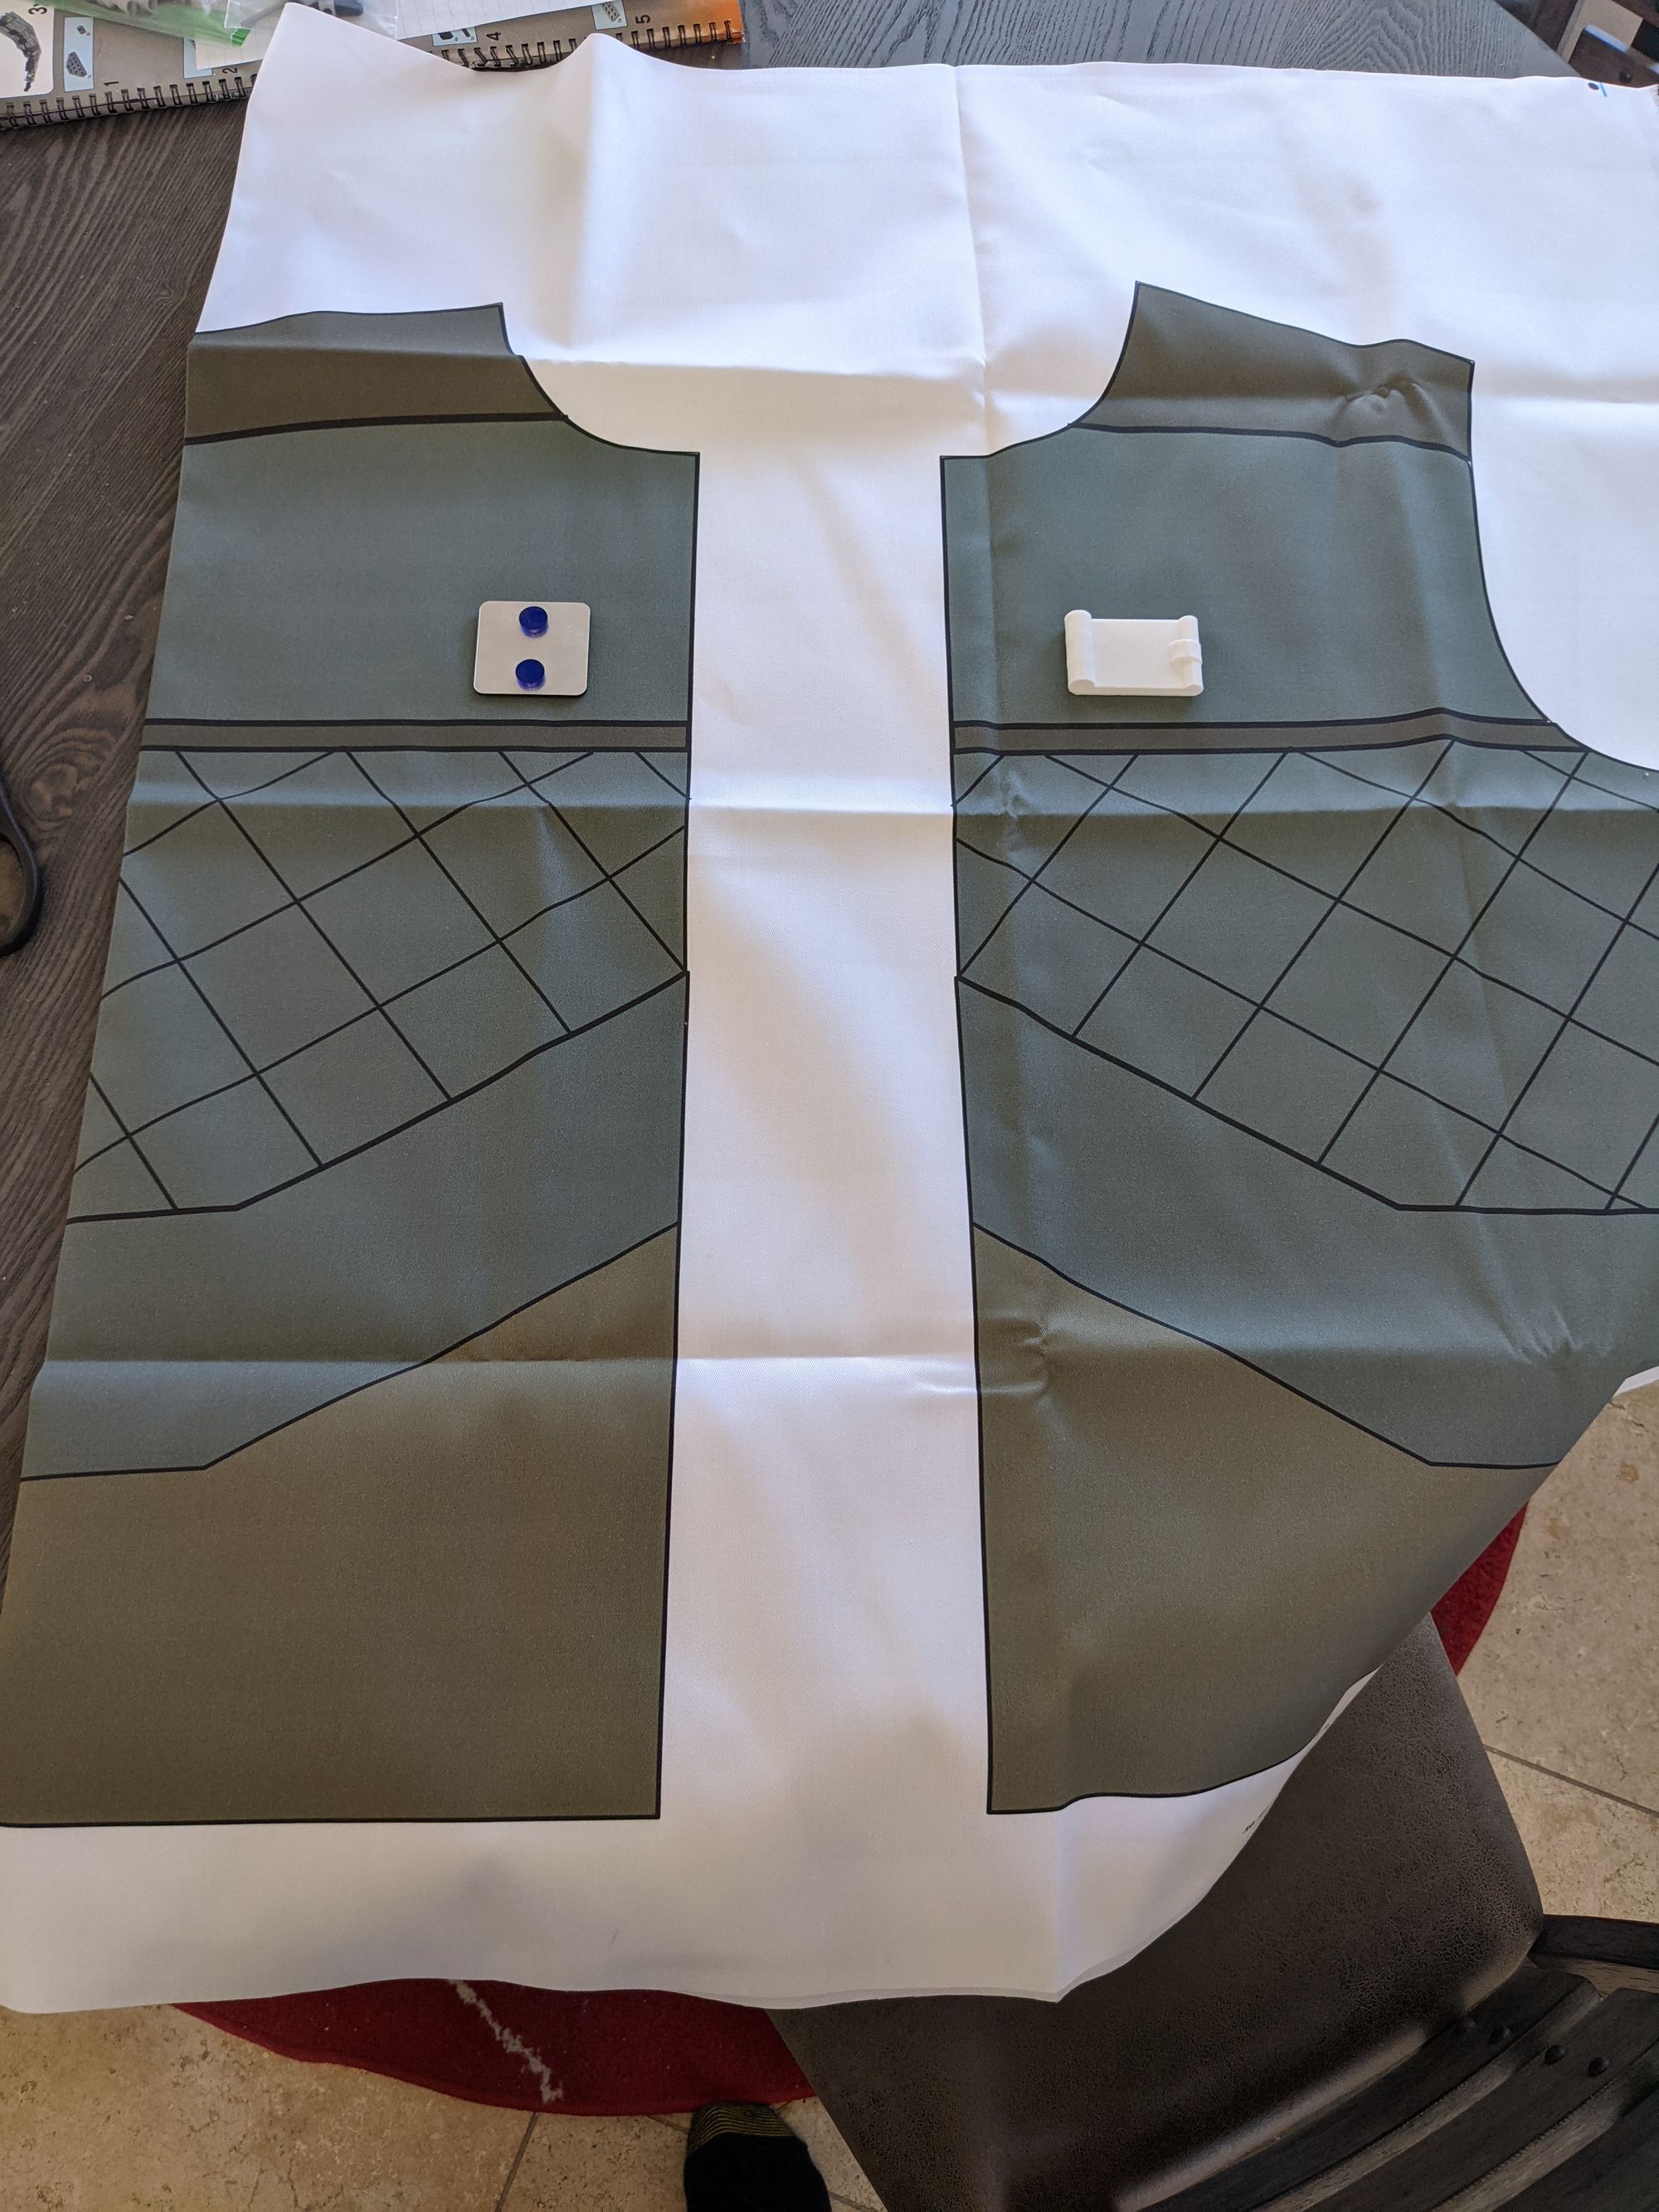
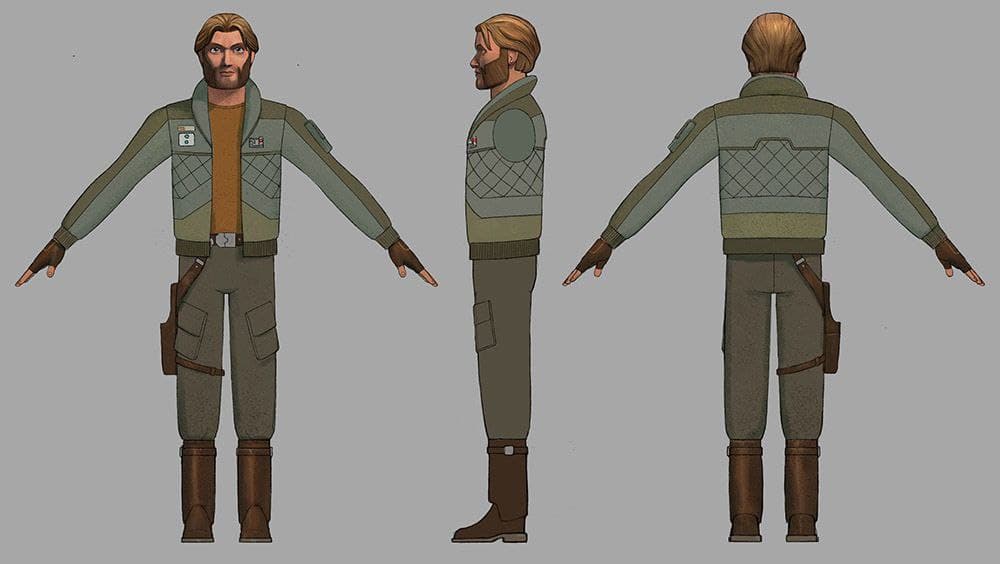
Doing it this way allowed me to use a color picker so I could match the colors to the show exactly. Using the costume turnaround that StarWars.com provided, I was able to have detailed references for the designs and colors necessary.
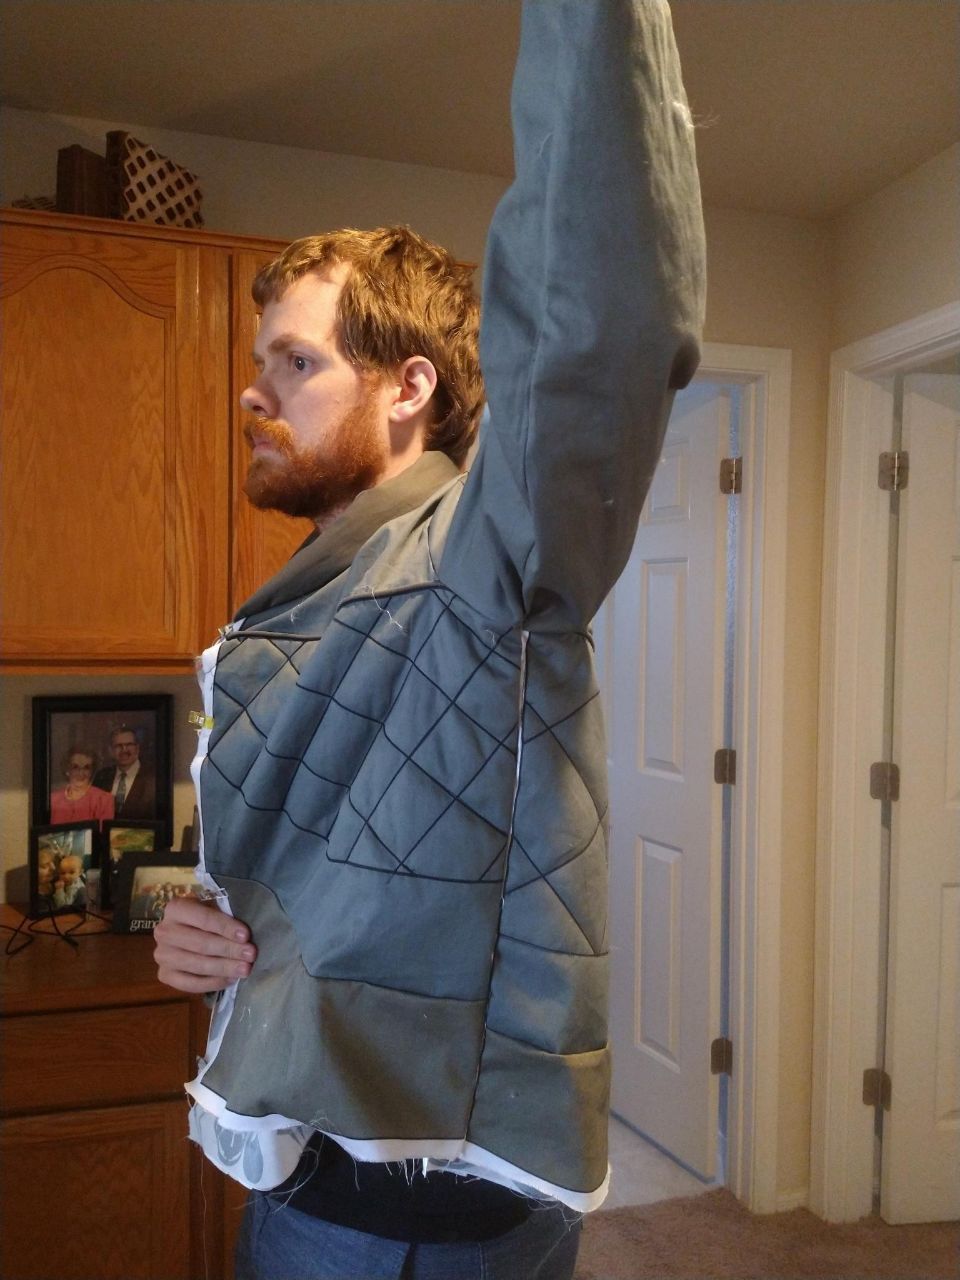
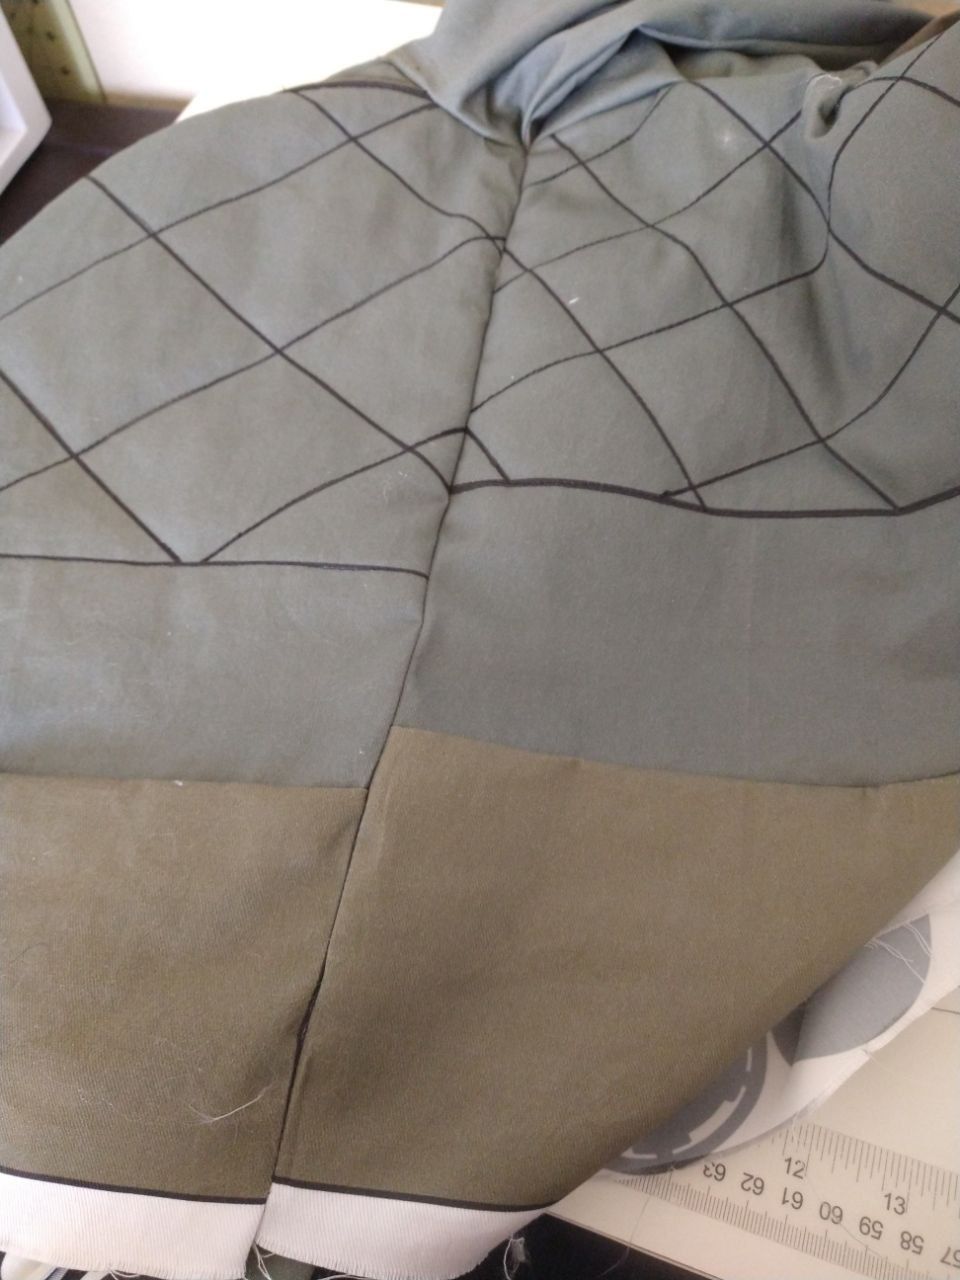
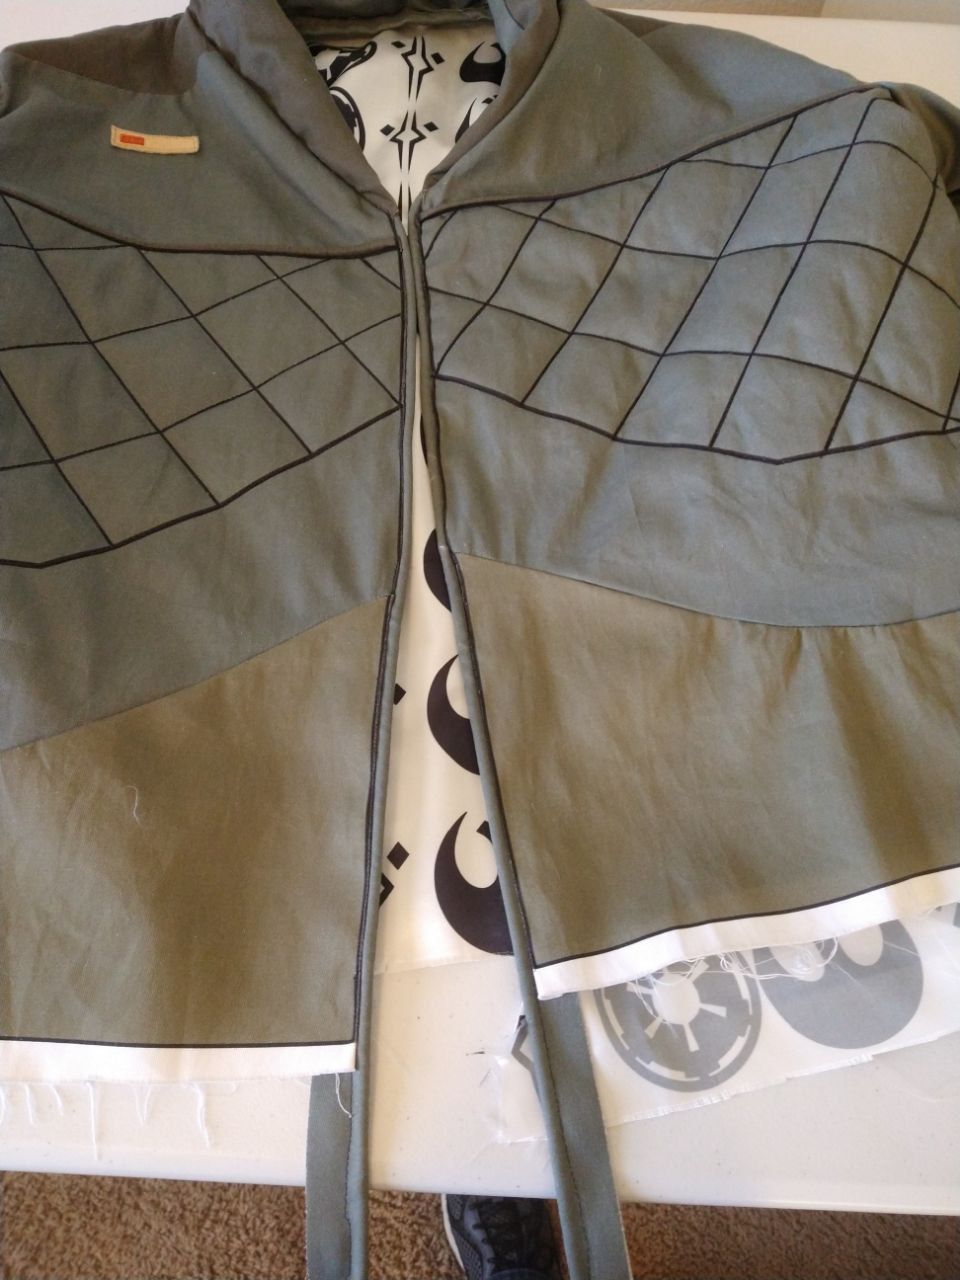
The challenge with doing it this way, is also part of the benefit: The faces of the jacket are all one piece. So making it look like separate pieces sewn together, like a jacket like this should be, meant that I had to sew on either side of the black lines to fake seam lines. The effect worked well, as did adding piping to the required areas.
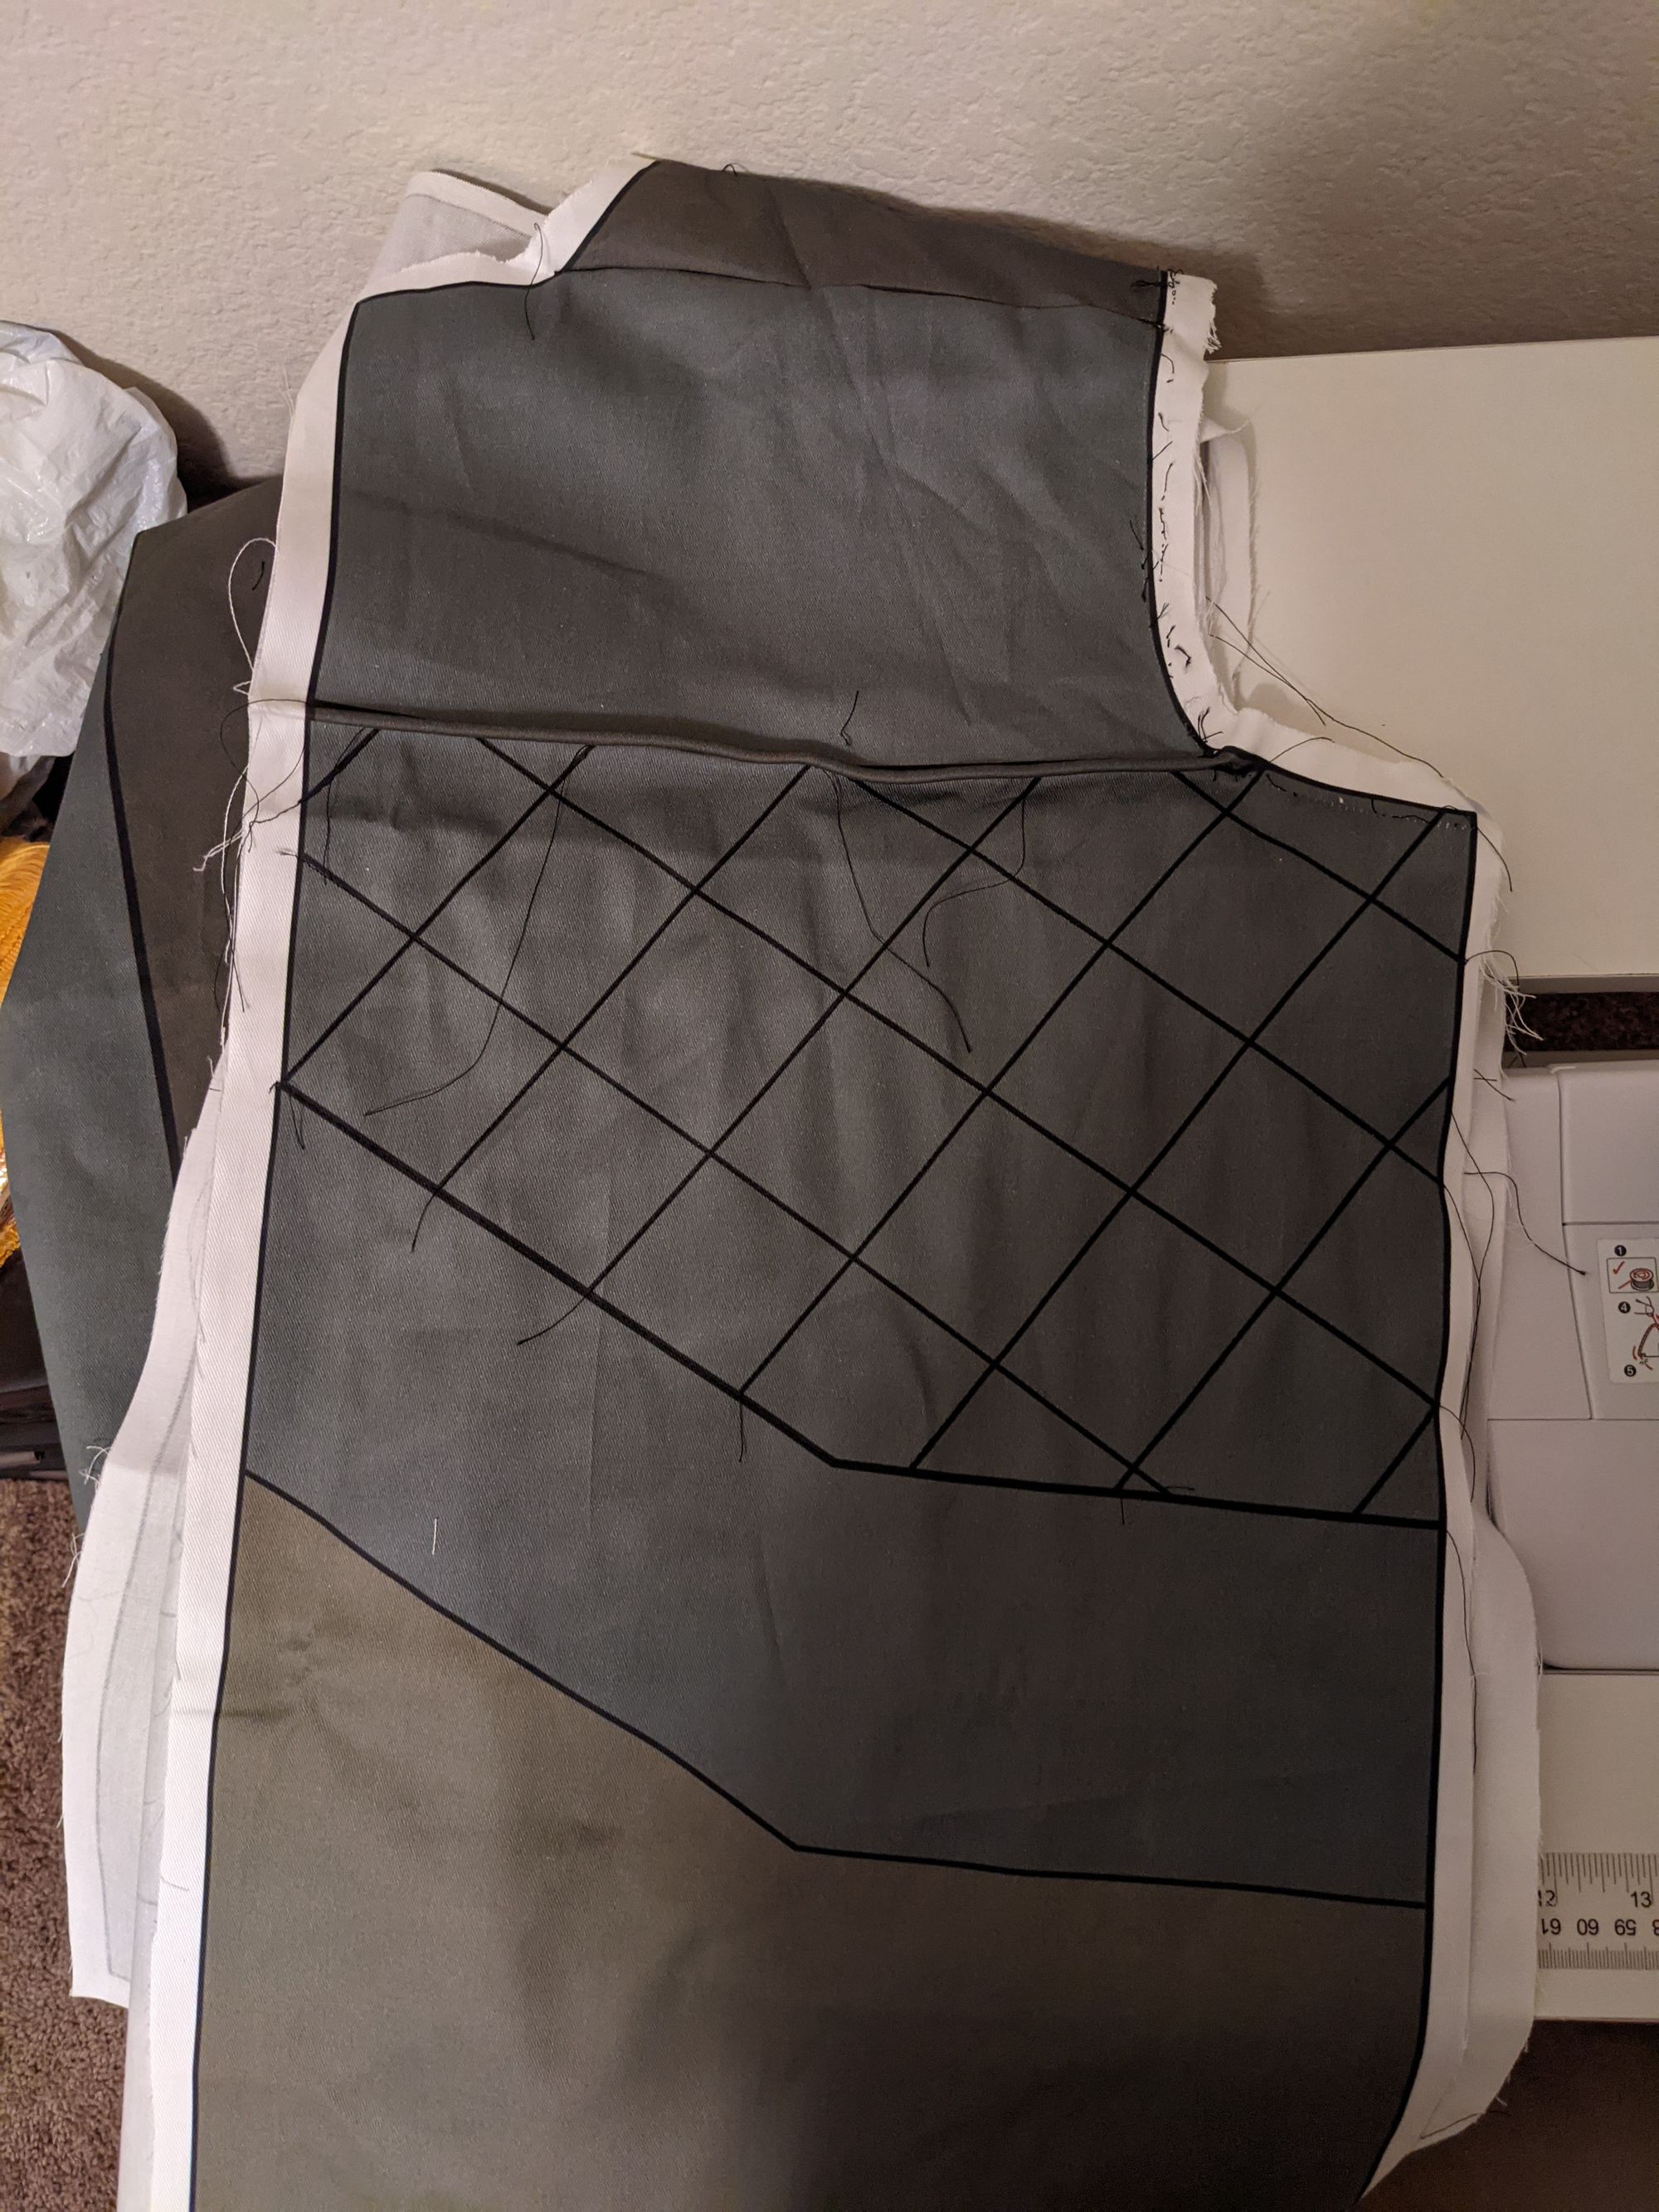
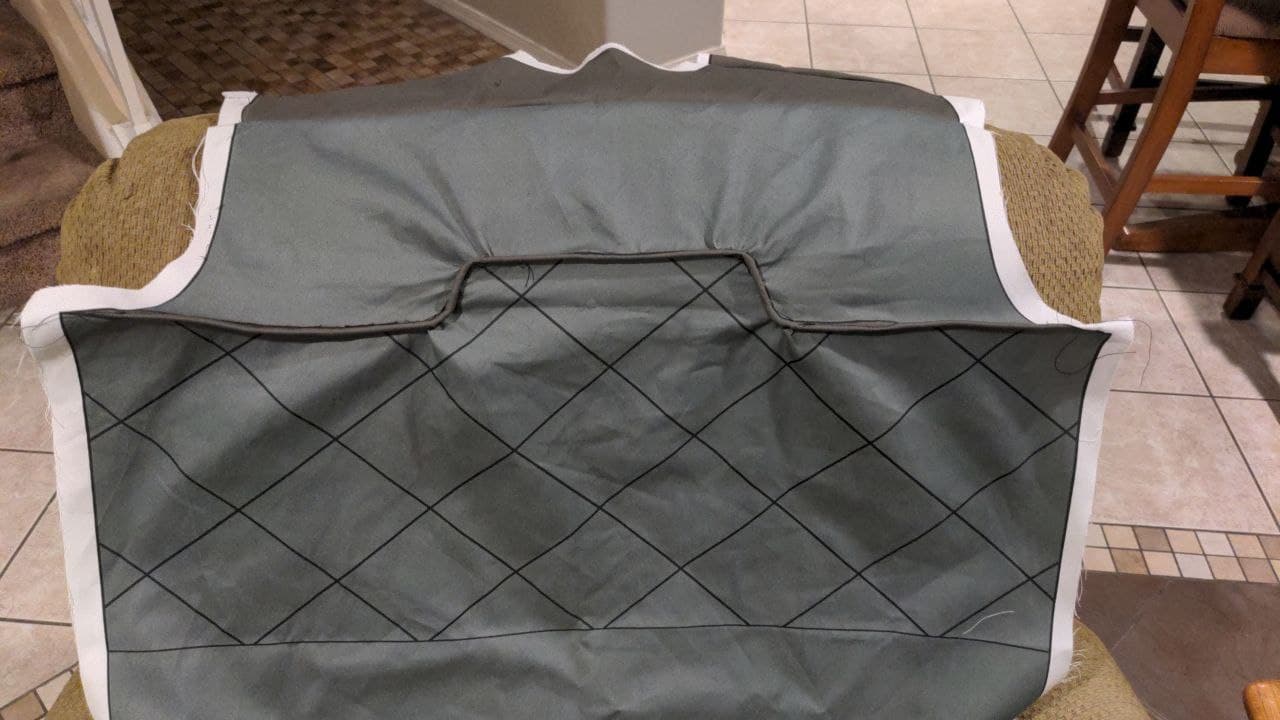
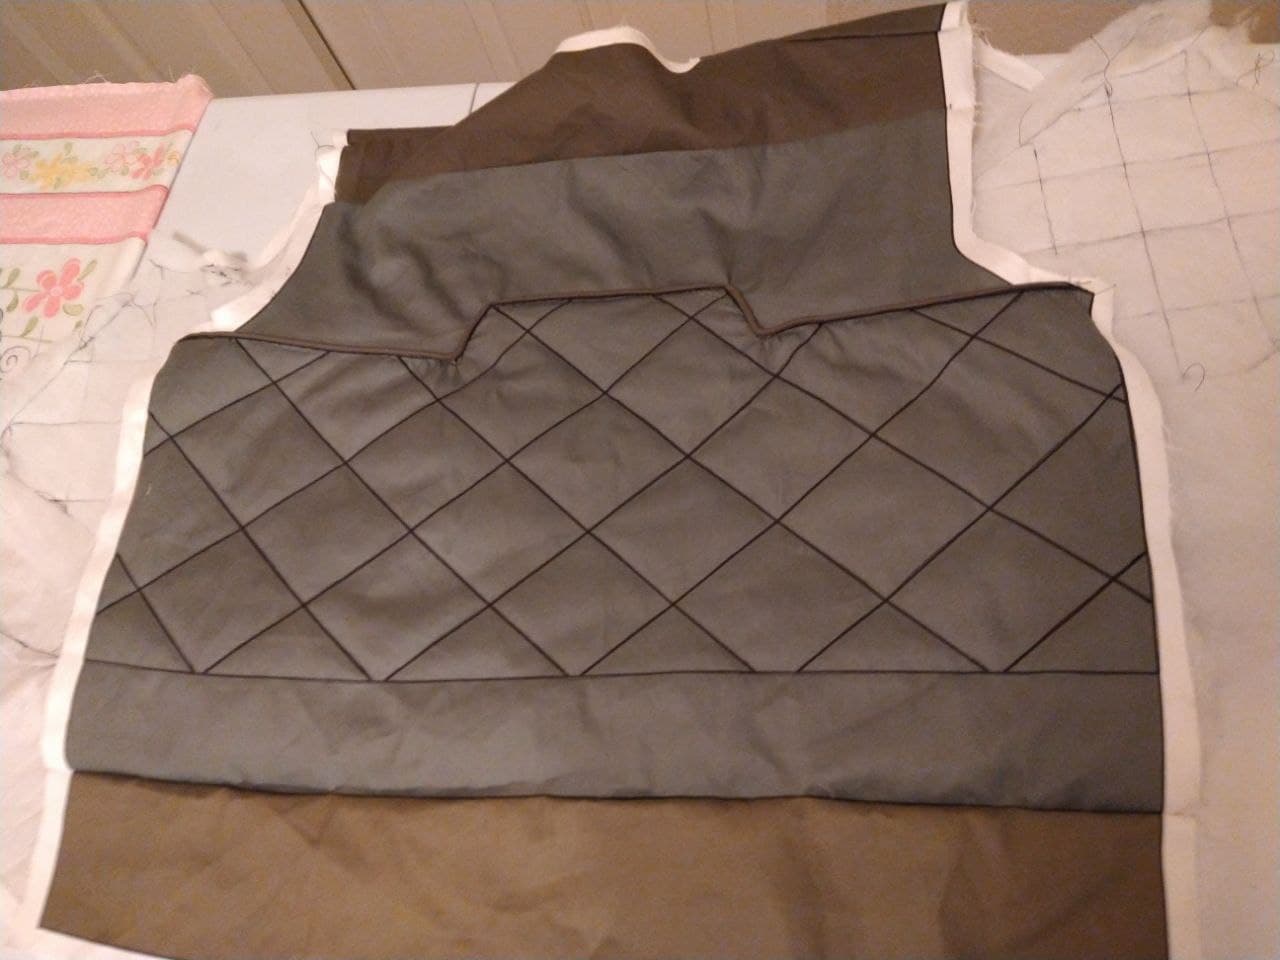
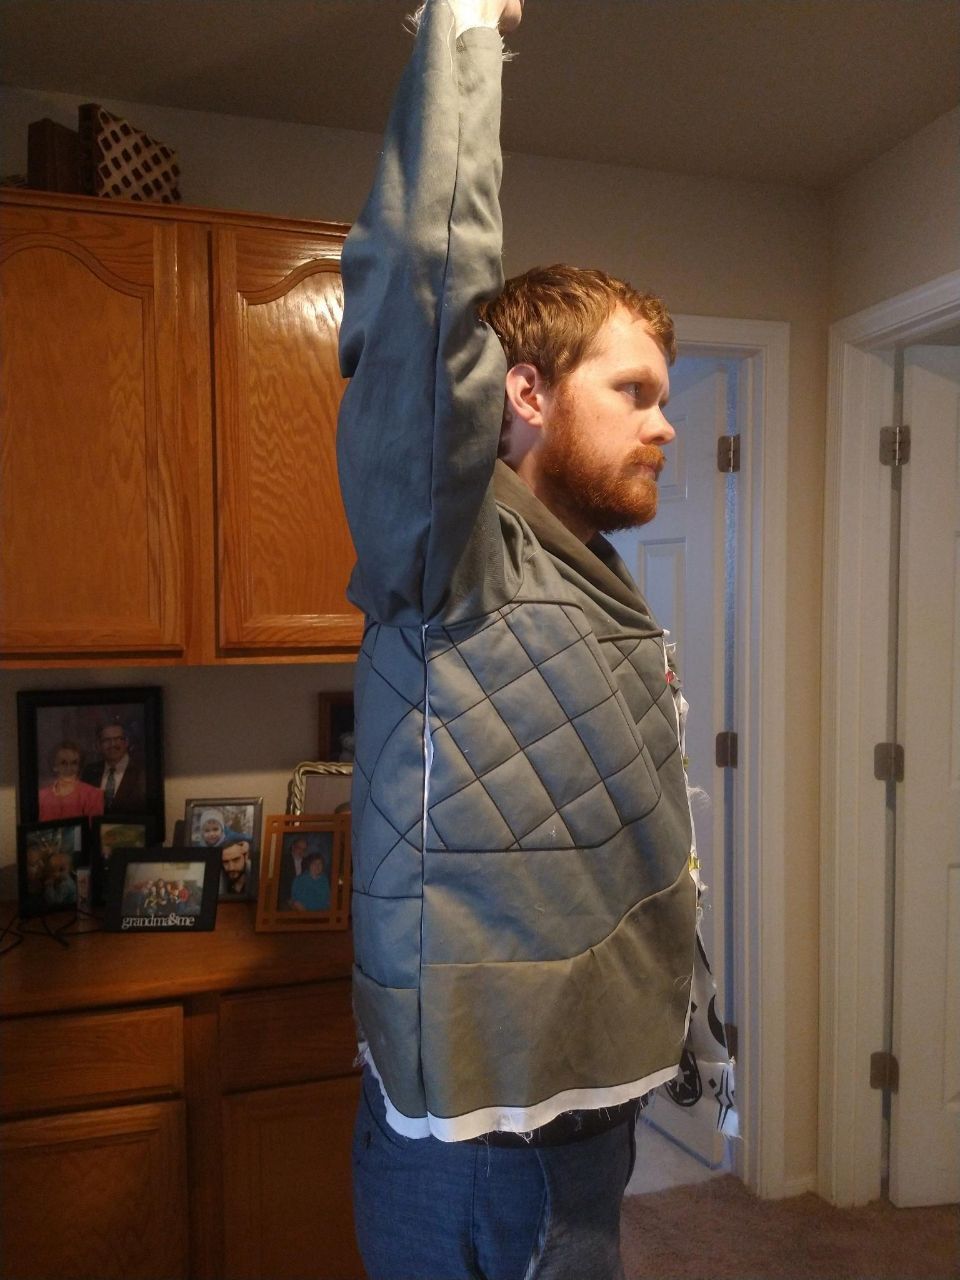
I was also able to add batting to the jacket bodice to create the quilting look following the existing lines. This came out really great and added so much to the look I was after!
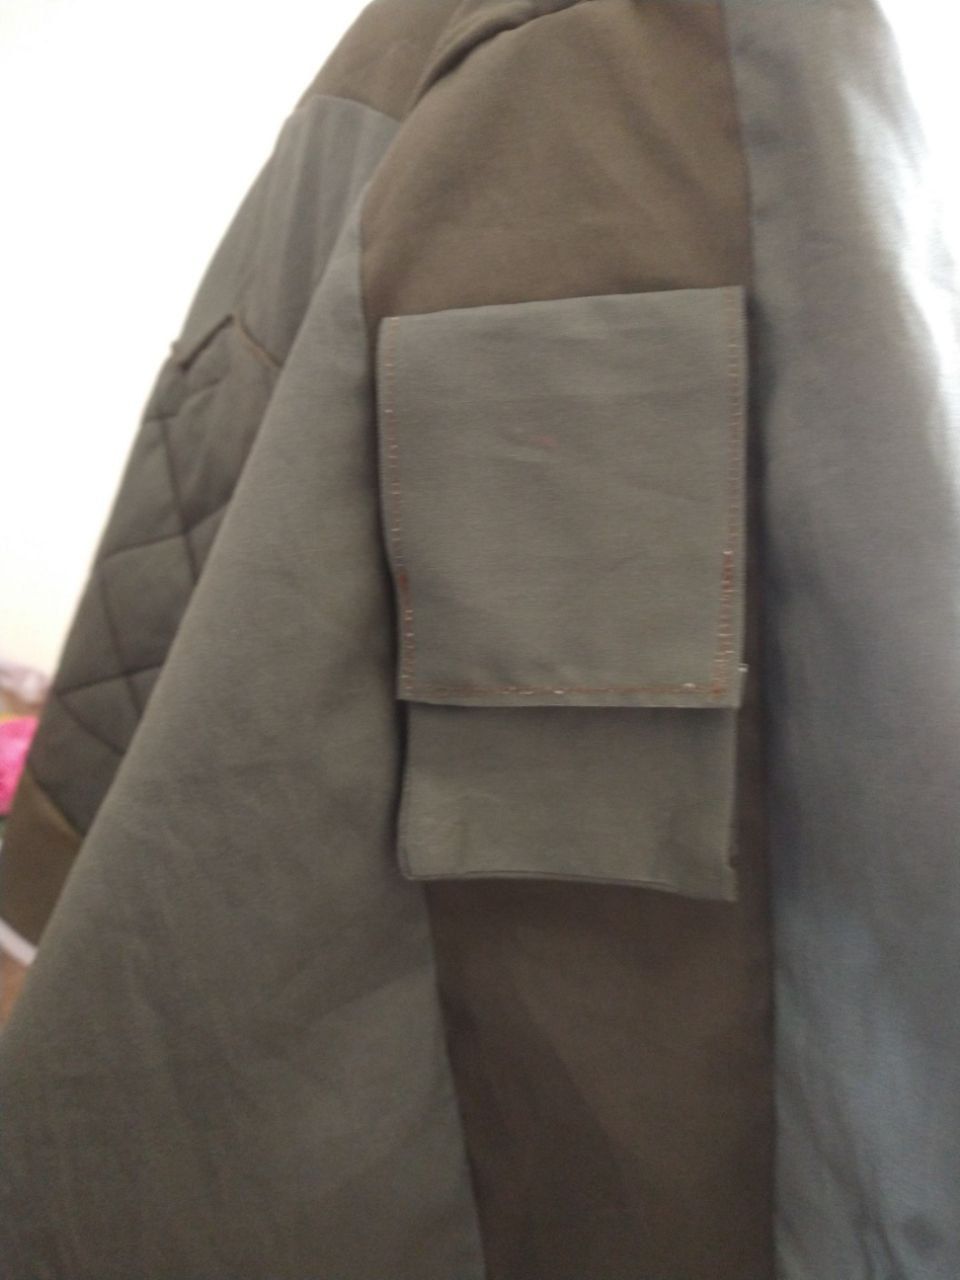
Attaching the sleeves wasn't terribly difficult. I added the pocket to the arm of the jacket since both sleeves near the shoulder have small pockets in the show.
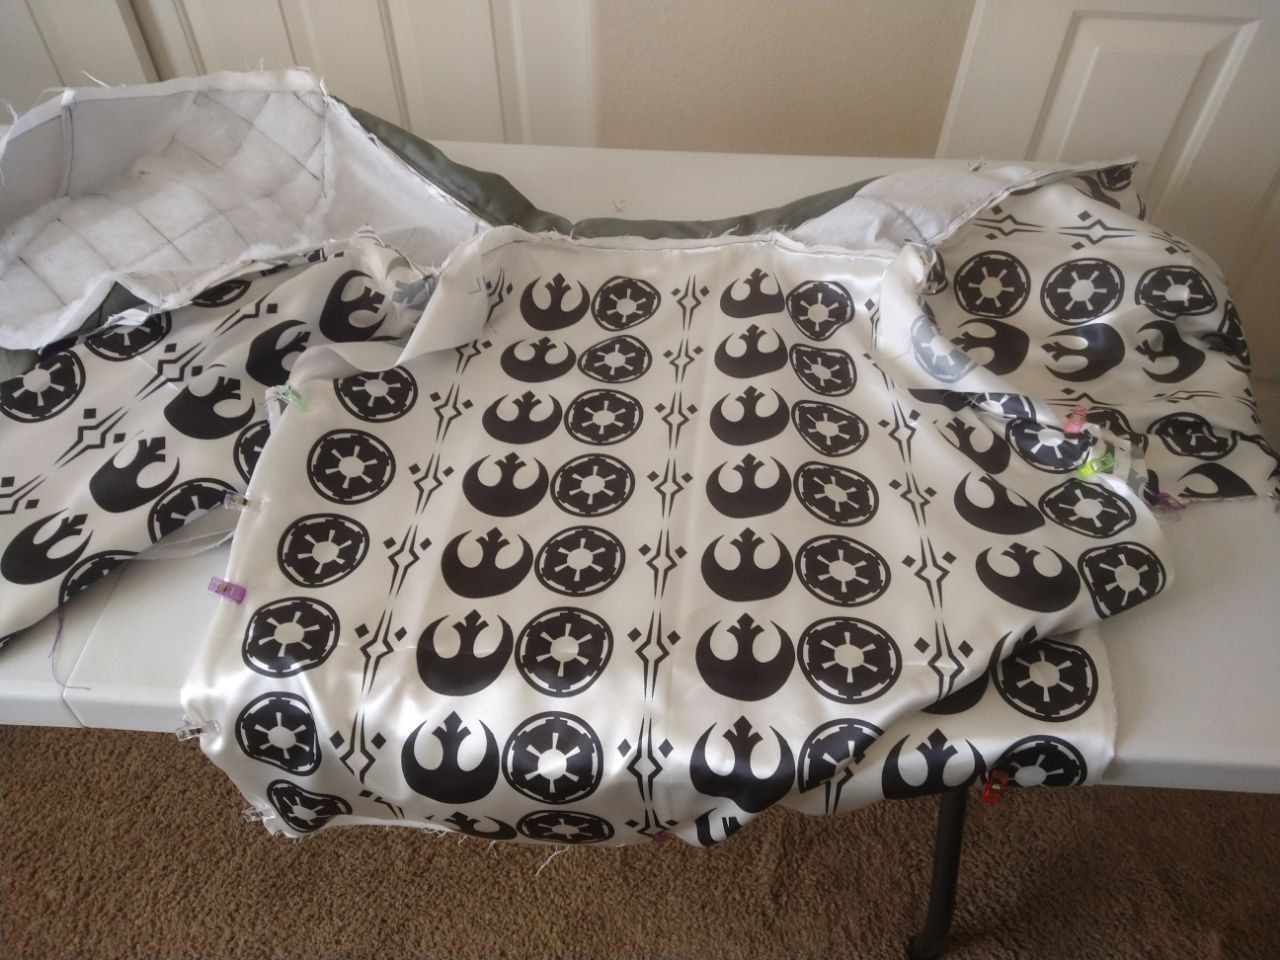
The lining was a bit of an adventure. I knew I wanted a nice, satin lining so I could slide in and out easier, but I also wanted more of that finished feel. Since it wouldn't be showing, I decided to have my own spin on it, as I like to do. So I designed a lining based on the Imperial Cog insignia, the Fulcrum insignia, and the Rebel Alliance insignia so the lining could tell the story of Kallus' redemption arc through the costume itself.
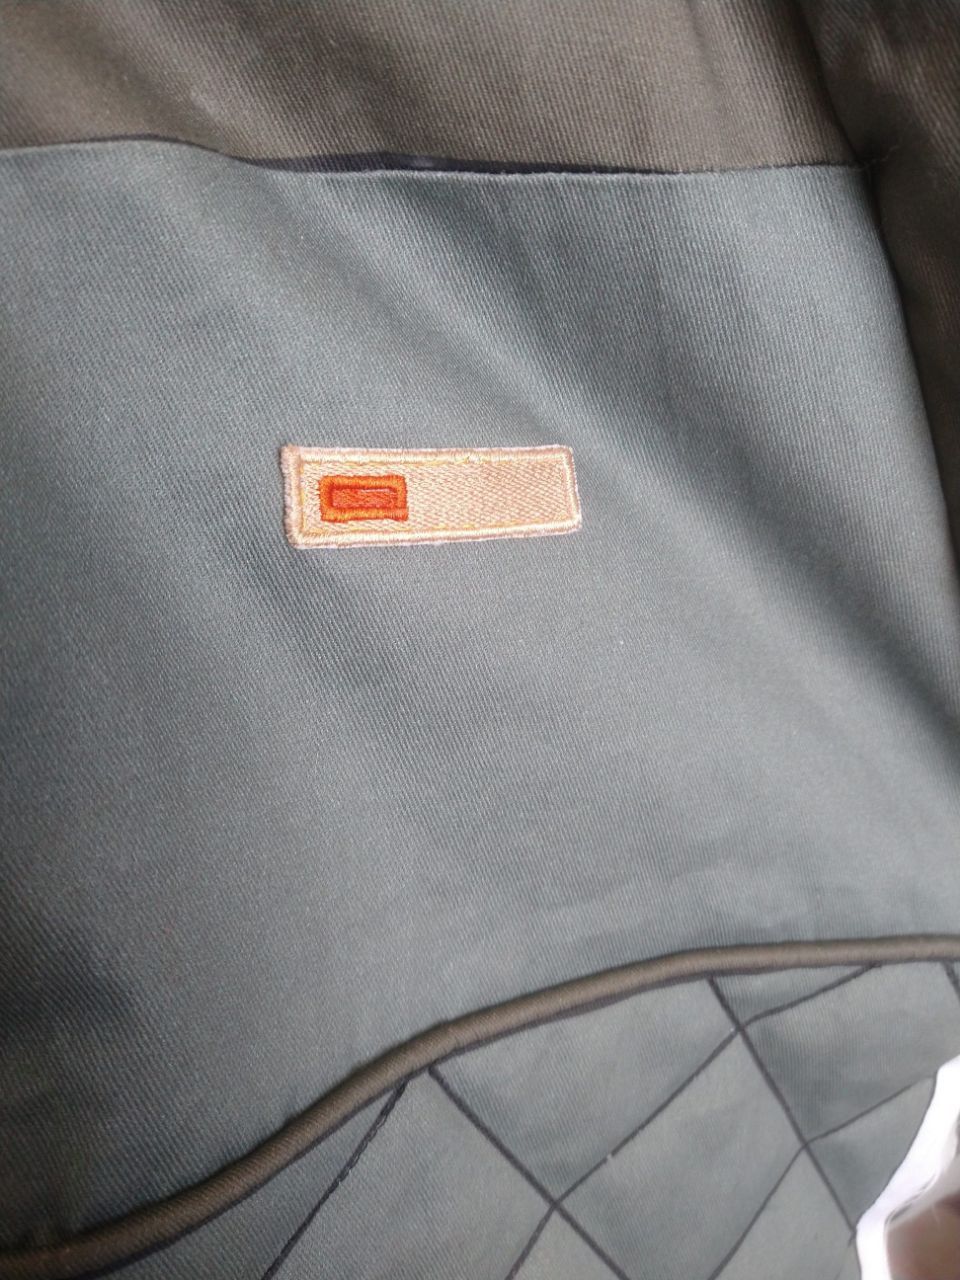
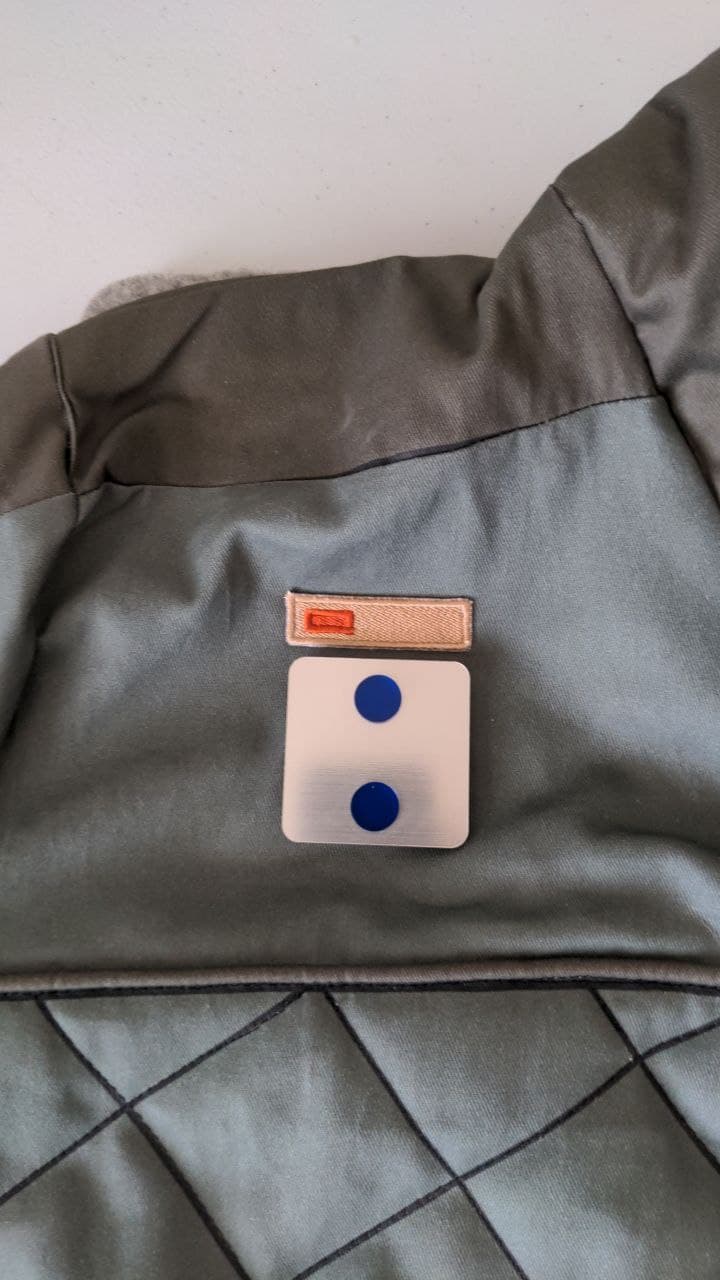
Thanks to a friend of mine, I got a nicely embroidered patch to go along with a rank badge that I got from a maker I've been following for some years now.
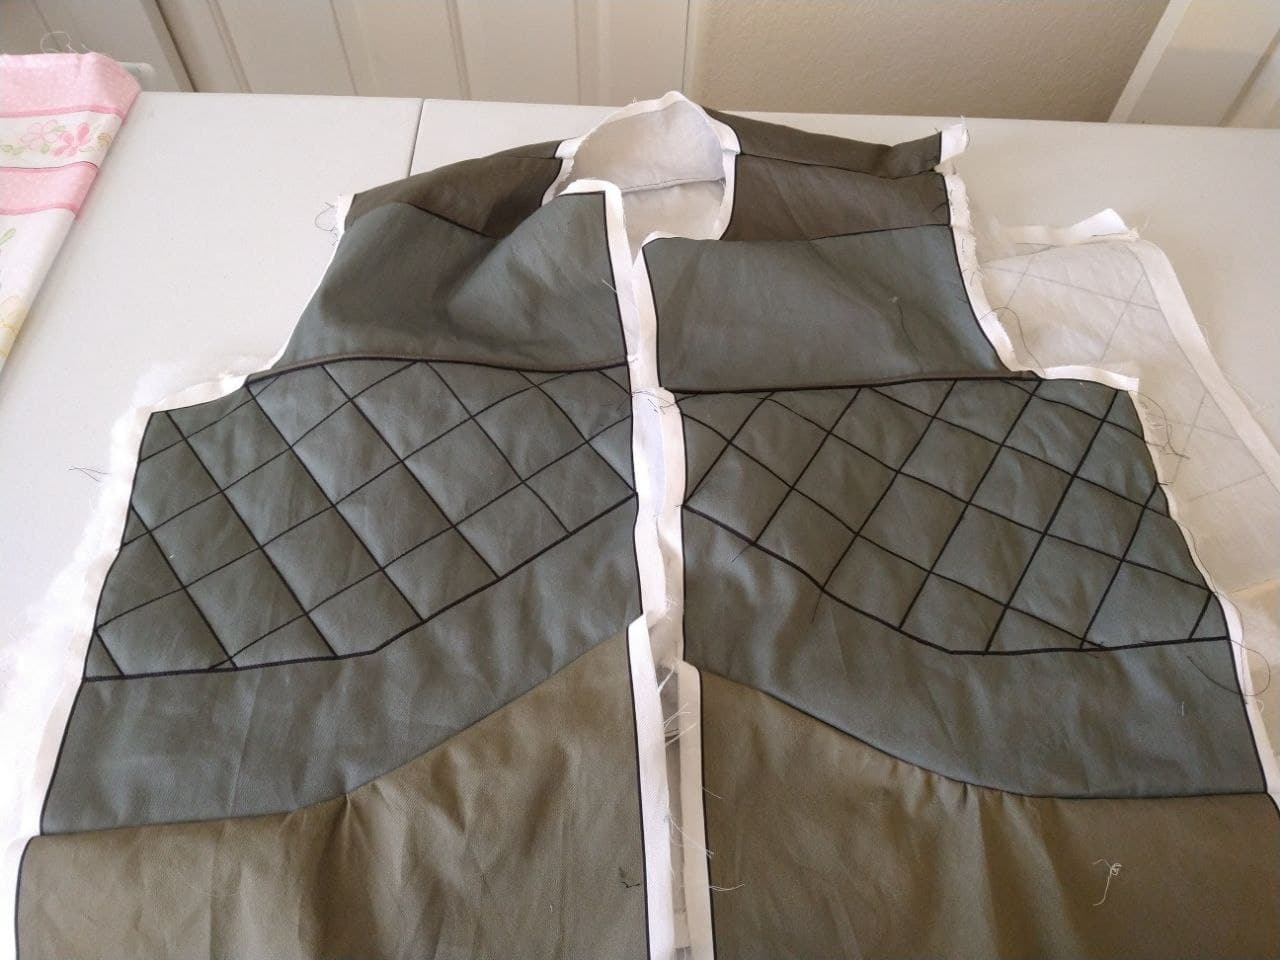
It was right after I closed up the bodice, I realized something that I knew I couldn't accept with my own high standards, let alone attempting to get Rebel Legion club approval.

The front pieces and the back pieces didn't match, they didn't even come close to matching. It would gnaw and scratch at me for being close to what I wanted, but never exactly what I wanted.
It took a bit of brainstorming as this was deep into the process, so how we would tackle that became a matter of: how much repeated work are we willing to do? Finally, I realized that the best option would be to cut off part of the back and get it reprinted to it would match up appropriately since I made a mistake in the design.
This was a morale hit, I was thankful for the time to print and complete because, it hurt. It was painful to get that far along and not have the foresight to look at the pieces together and realize that I'd made a mistake of that magnitude.
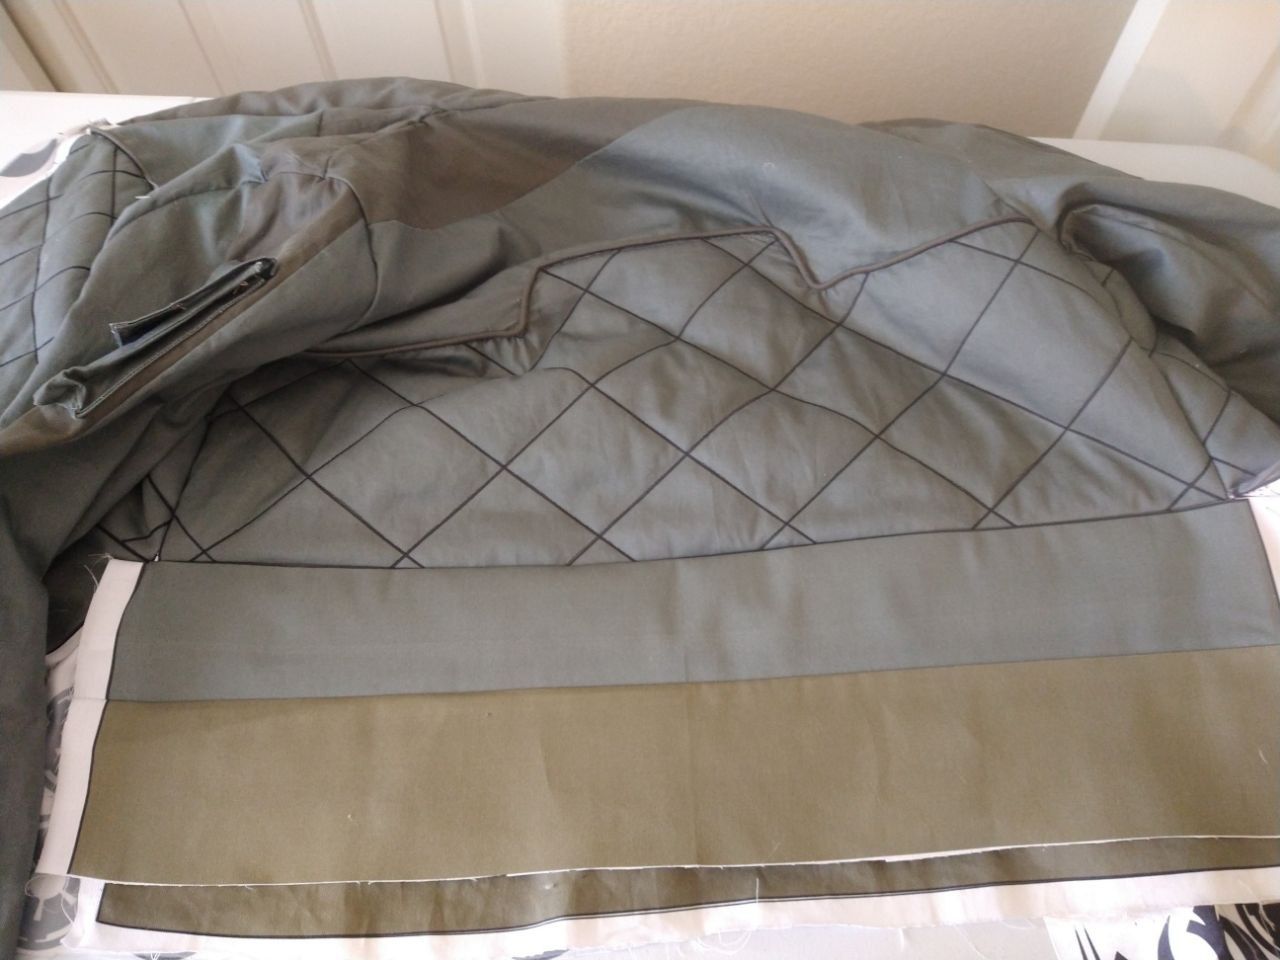
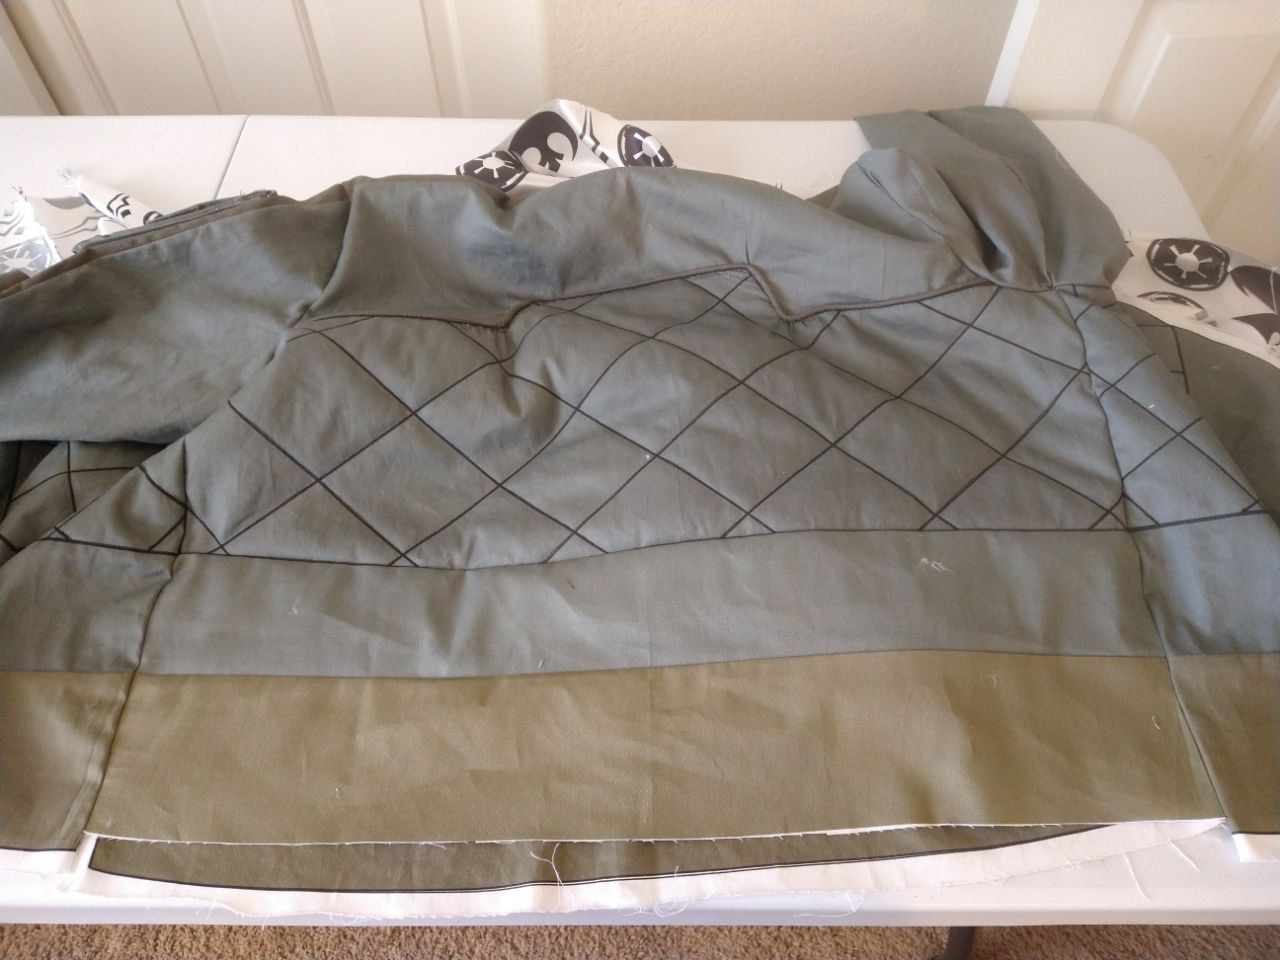
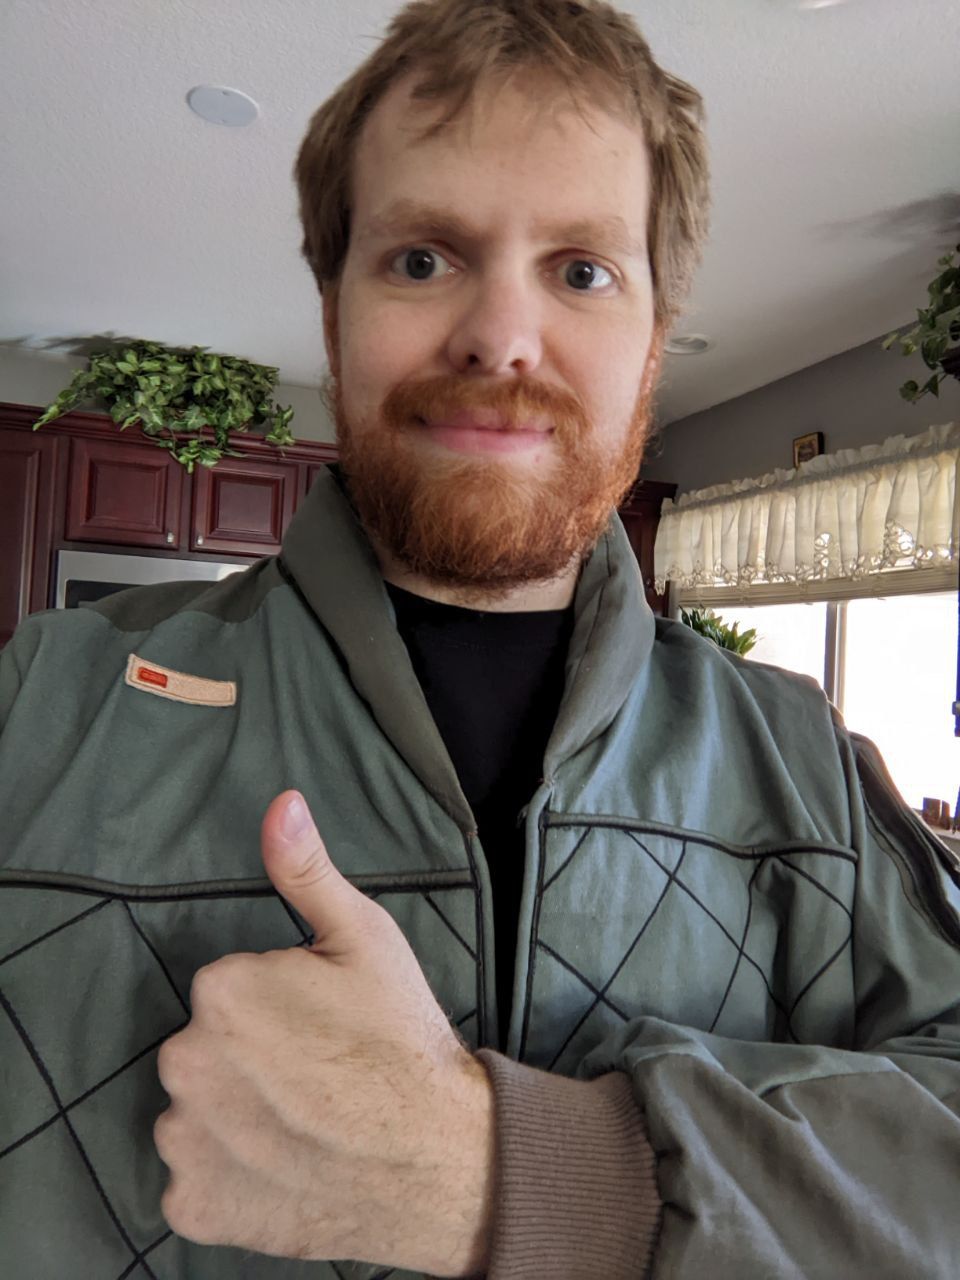
The good news is that once this was taken care of, we were able to perform surgery on it. Carefully measuring (measure 6 times, cut once? Not as catchy). Once that was done, we were able to jump right back into working on closing the jacket up with piping to give it a nice finished look. Then came ribbing.
Ribbing is tricky to work with, as I soon learned. Measuring and stumbling as I soon realized that I cut it way too large since, it's elastic. You want it to be smaller and cinch in. So from there we were able to sew the wrists on, and then work on the waistband.
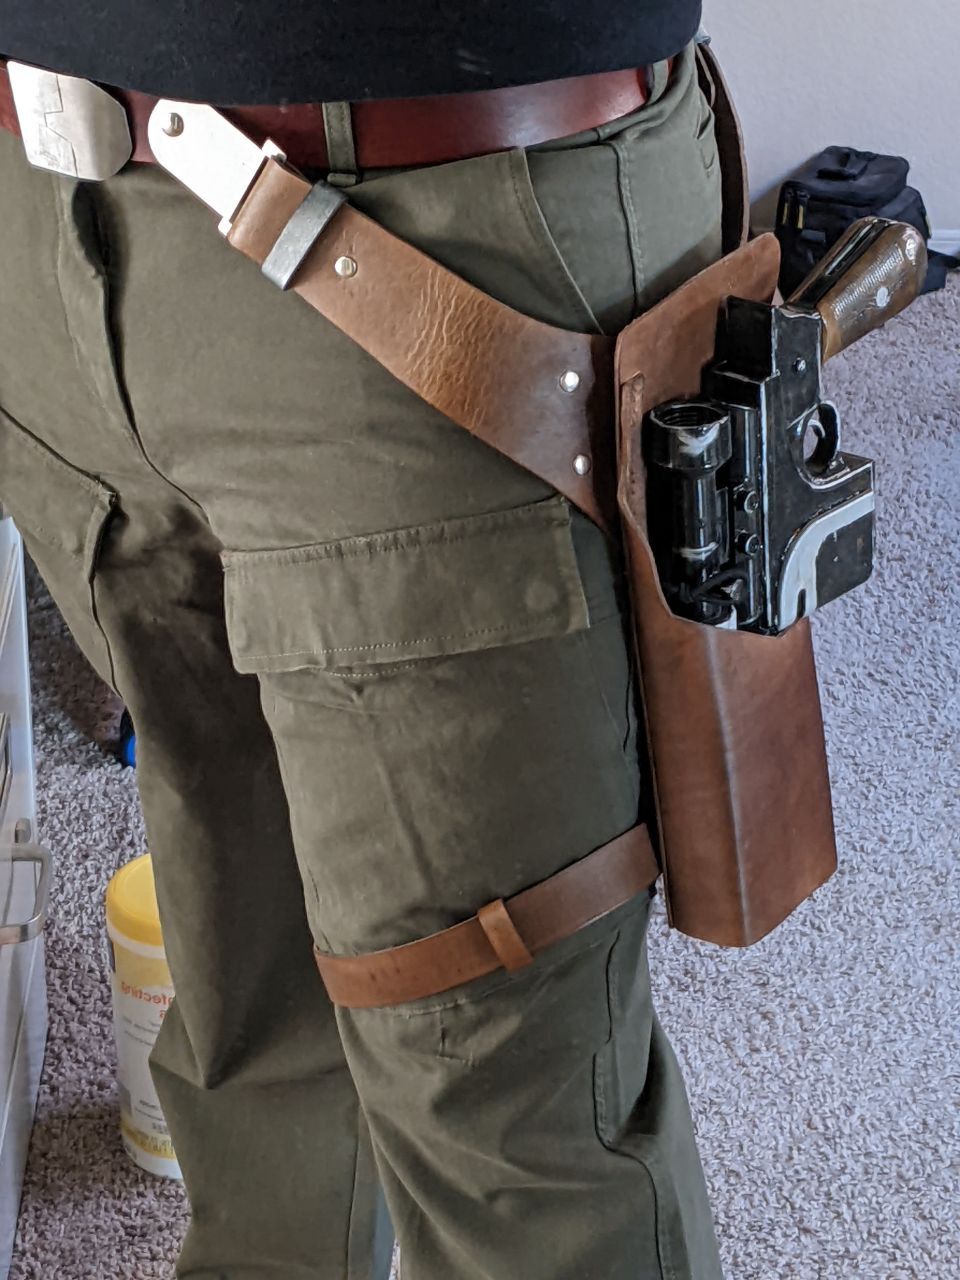
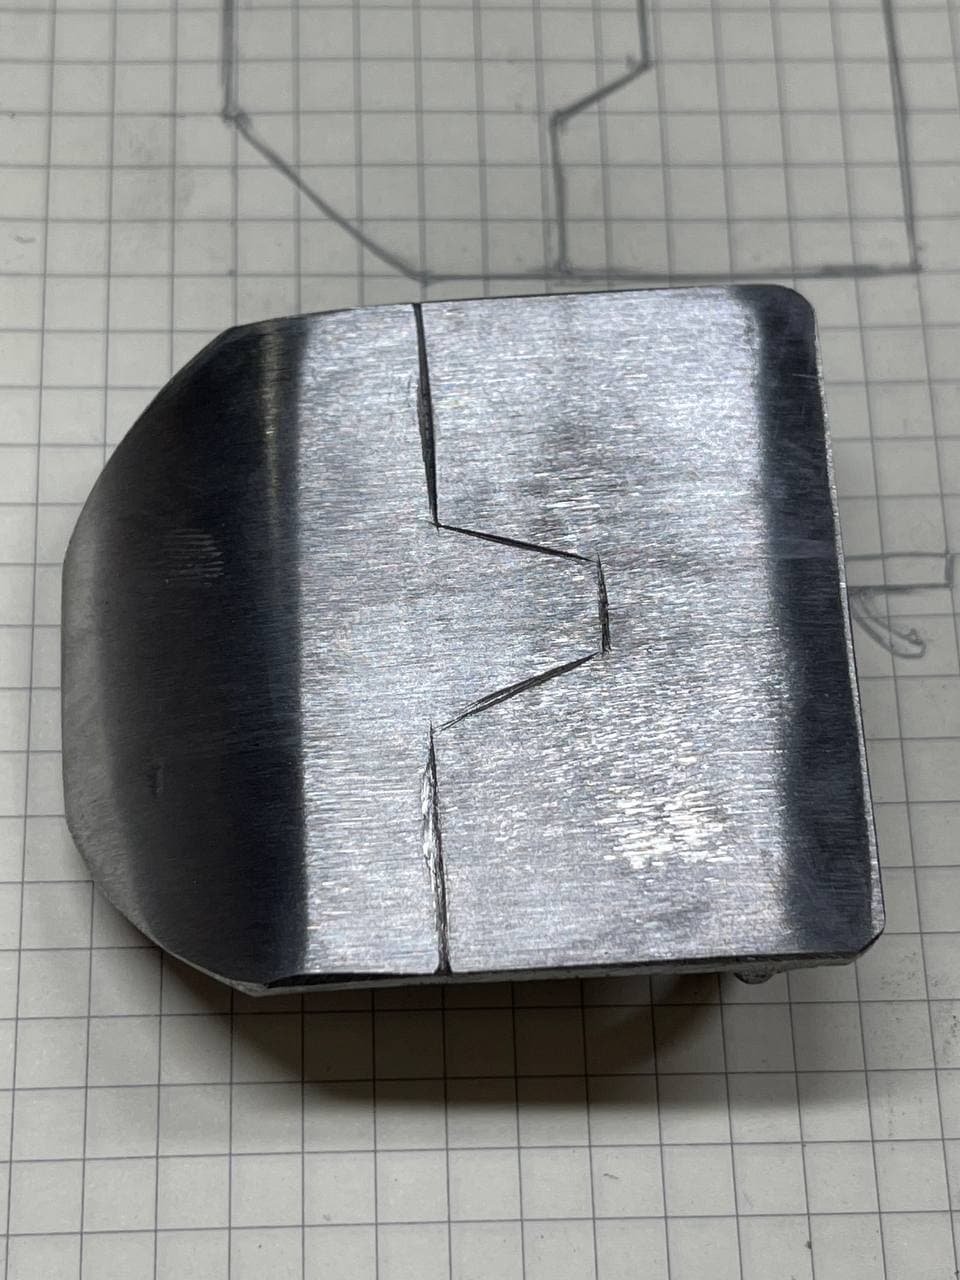
With the jacket more or less done by that point, came the accessories. I commissioned an Etsy seller Darmian's props to make me a holster. I paid a blacksmith friend of mine to make the belt buckle.
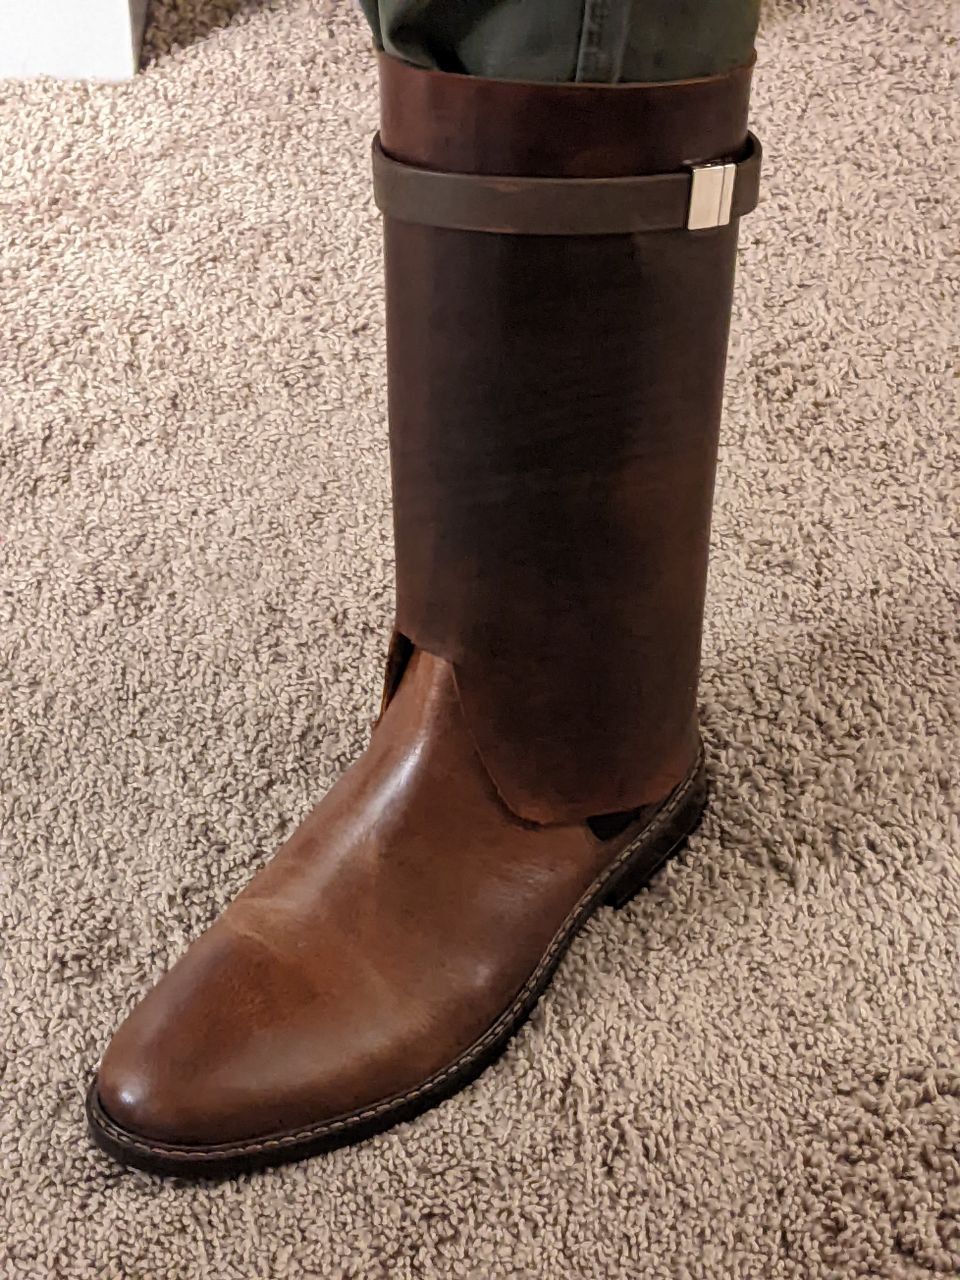
And then came another first for me: Leatherworking. I have been lucky enough to know many incredibly talented people who are able to give me advice on new tools and materials I wanted to use. Looking at the boots in the design, I knew that I wouldn't be able to find a pair of boots that would match the look close enough, but more to the point, to get the look I wanted, I'd need to make gaiters.
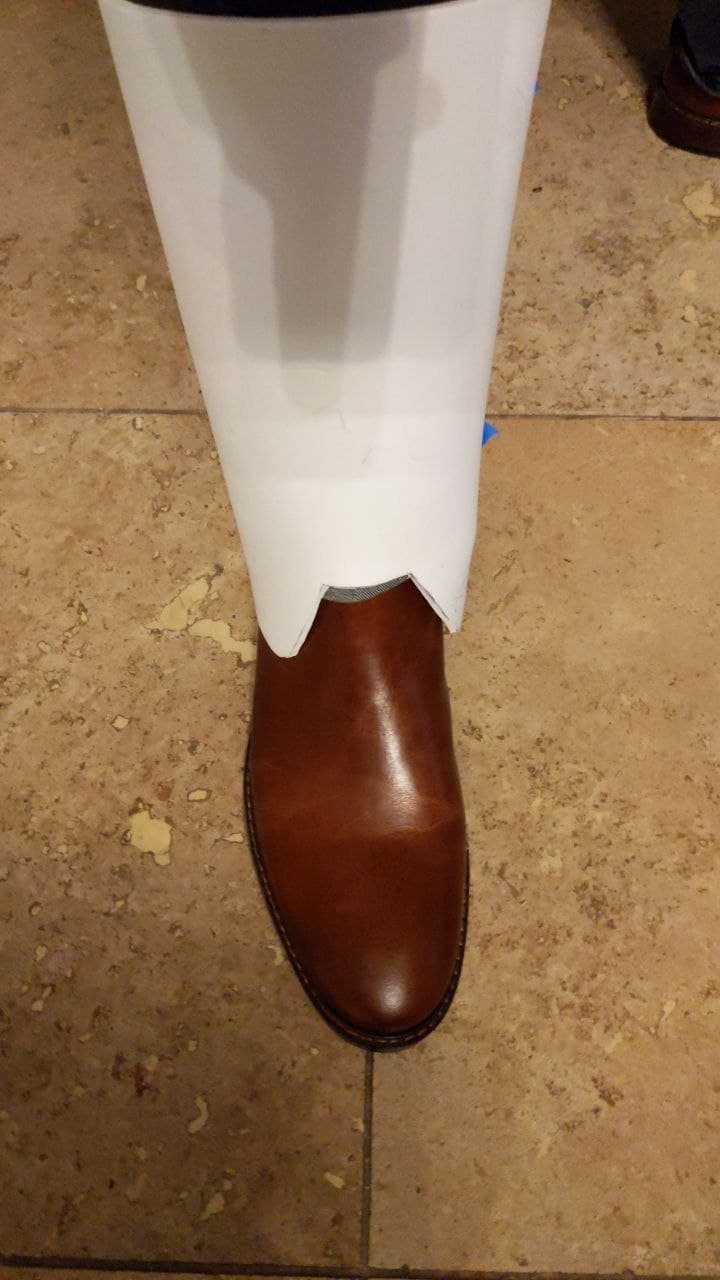
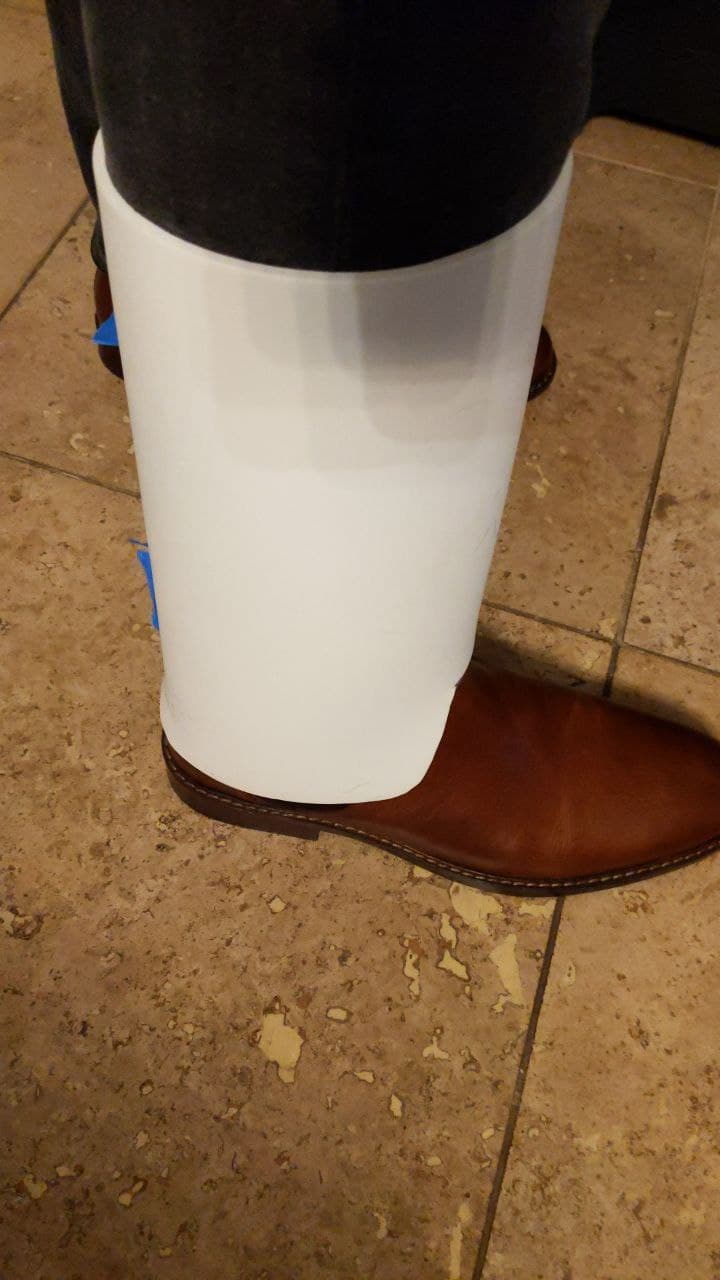
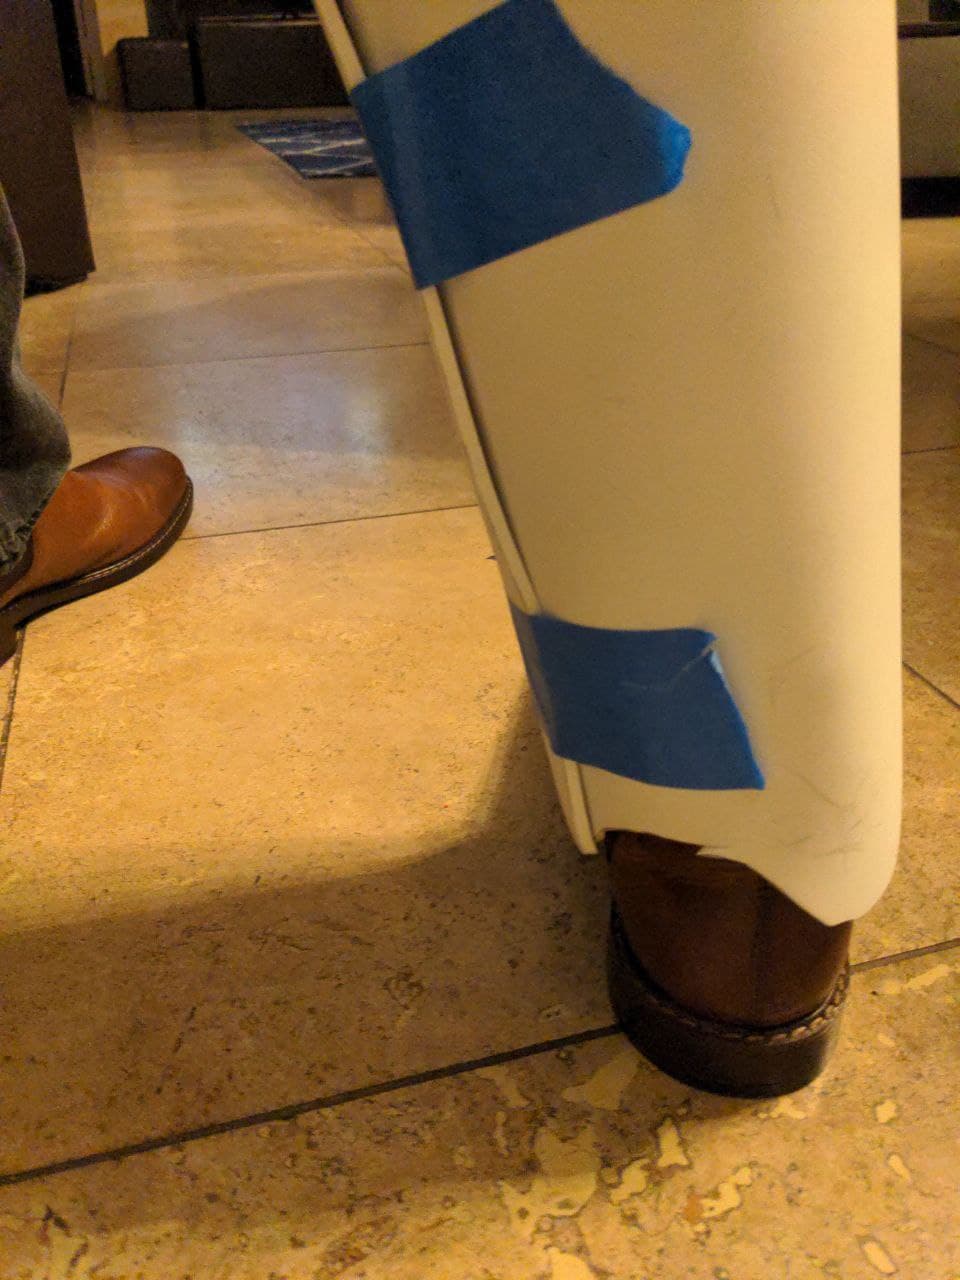
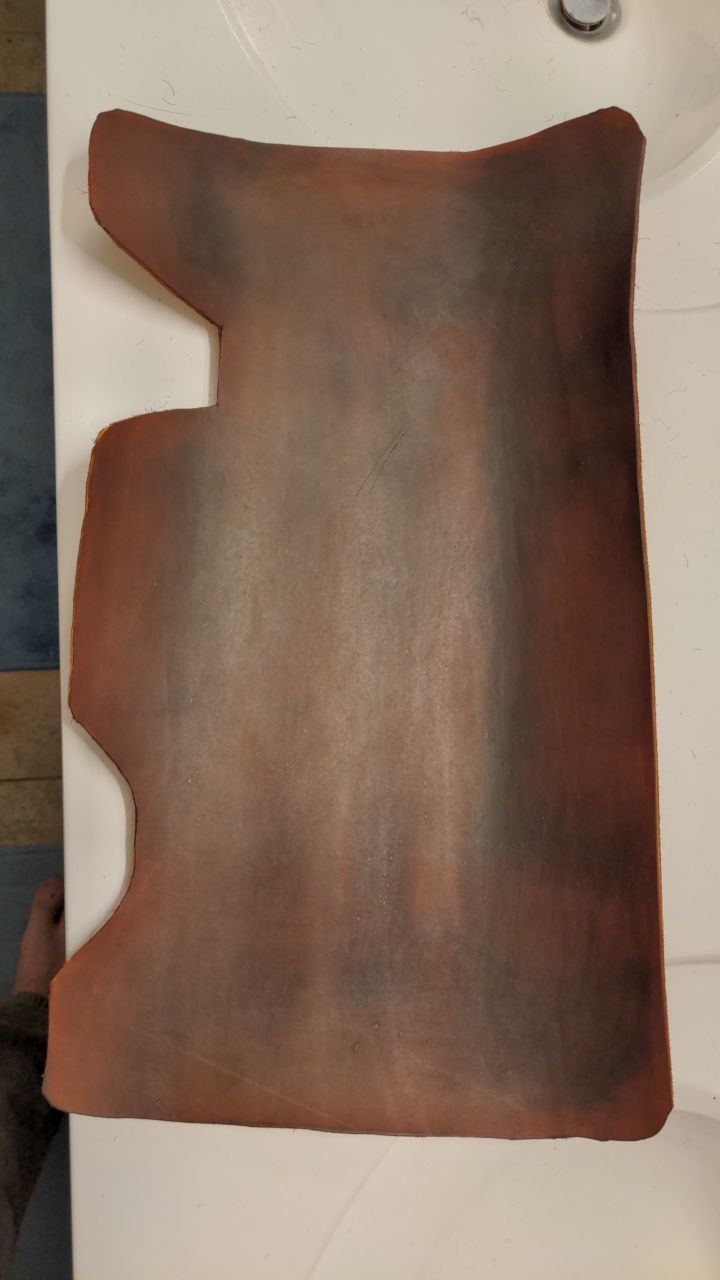
I used a thicker foam than my leather would be to get a proof of concept and trim up the cuts I'd made to make sure it would work. The shape being basic made it a a good first project to do leather working and dyeing on, and I'm very happy with the end result!
And as a reward for reading all of this, I bring a gift!
This is how #HotKallus walks into any room, you can't convince me otherwise! #StarWarsRebels #cosplay pic.twitter.com/STrtvJfQw8
— GHCosplay (@GH_Cosplay) April 13, 2022